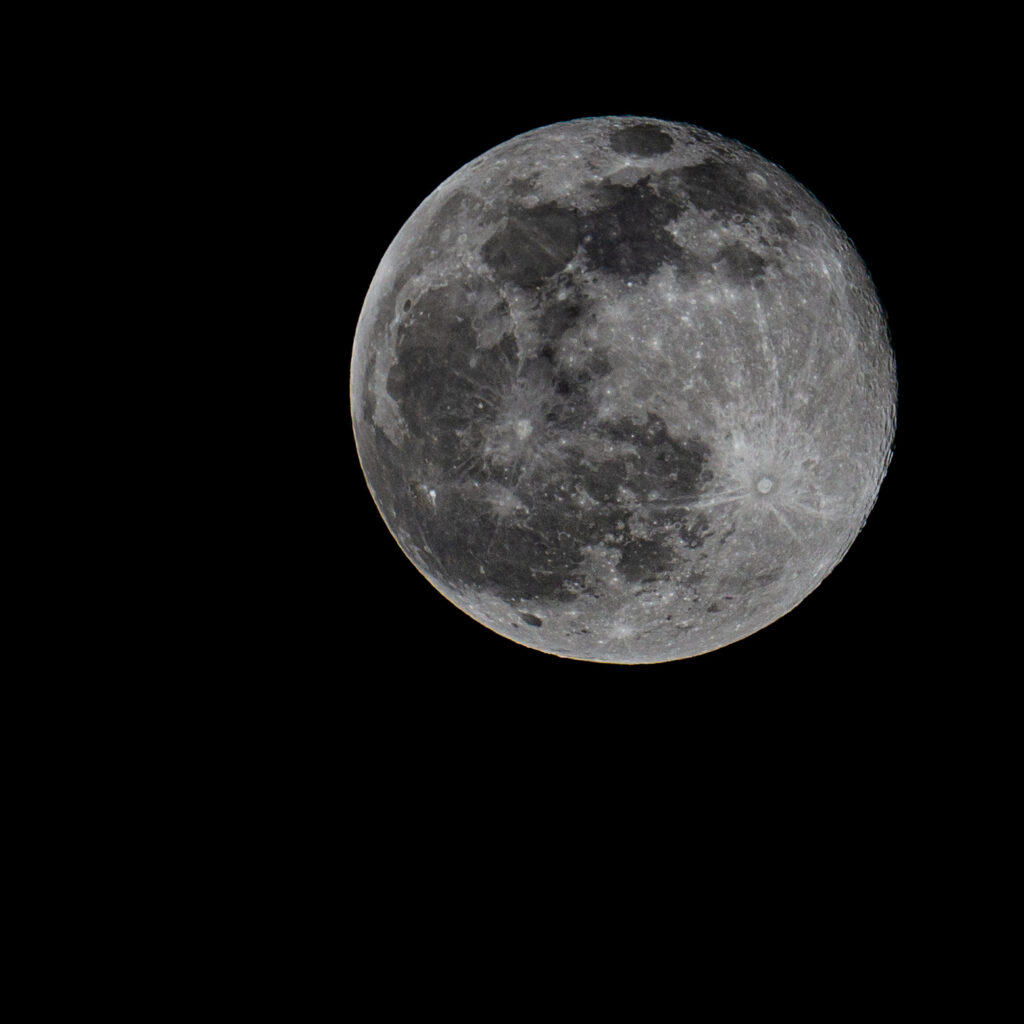
I finally feel like I’m pleased with a moon photograph. Yes, there’s a bit of room for improvement, but a lot of the really bad things of previous shots seem to be resolved. I thought I’d share how I did it. It’s quite easy when you know how.
The first thing you need is a good telephoto lens. The longer the better. I’m using a lens that goes to 350mm, which on my APS-C sensor becomes effectively 525mm. You can get decent results with shorter lenses, but you definitely want to use the longest you have.
Next you need clear skies. Sounds obvious, but if it’s not totally clear you get hazing and shadows that you don’t want.
Camera settings are quite easy actually, although a tripod will make life a lot easier for this. Make sure the tripod is nice and steady, and levelling it will help for adjustments later. Set your camera to fully manual mode, set the ISO to 100, and the aperture to f/11. If you set it wider than that I seem to end up with some quite strange chromatic aberrations. I found autofocus worked well, but you may need to manually focus to get it sharp. Try both and see what works best. Shutter speed is the only thing you really need to think about and will vary from day to day. Mine was 1/125s, so start there. Having the image a little darker seems to better than having it too light. Make sure you shoot in raw!
Take a series of shots. 5-10 seems to work well, but you can take more. Try and keep the moon centrally in the frame. That’s where the level tripod comes in because you should just need to rotate horizontally and not have to always readjust.
Experiment with other apertures and exposure lengths now rather than waiting for another day. Being able to compare multiple sets of images with all other conditions the same is a real bonus.
Now we come to processing. I use Lightroom, but other programs will work too. Lightroom has built in HDR Merging. This is designed for merging images of different exposure lengths to give an HDR image back, but it works a treat for the moon. Merge all the photos you took with the same settings using this tool. It will layer the images together and give you a lot more detail than a single image. It should also reduce the noise in the image a good deal.
Once the merge is complete you can process to bring out the detail you want. I like to crop in, but be careful not to over crop so you lose sharpness. I also used the texture and sharpness sliders to add as much detail possible. Just don’t overdo it.
Clarity and Dehaze sliders are great for adding the contrast between the light and dark sections of the surface. Again, don’t overdo it.
The Highlight slider is the one to use to determine how bright you want the moon to be. Don’t make it too bright or you’ll lose the detail in the surface.
Give it a go and let me know how you get on. I’d love to see your attempts!